Light Painting with Portraits
combining light painting with portraits using slow sync flash
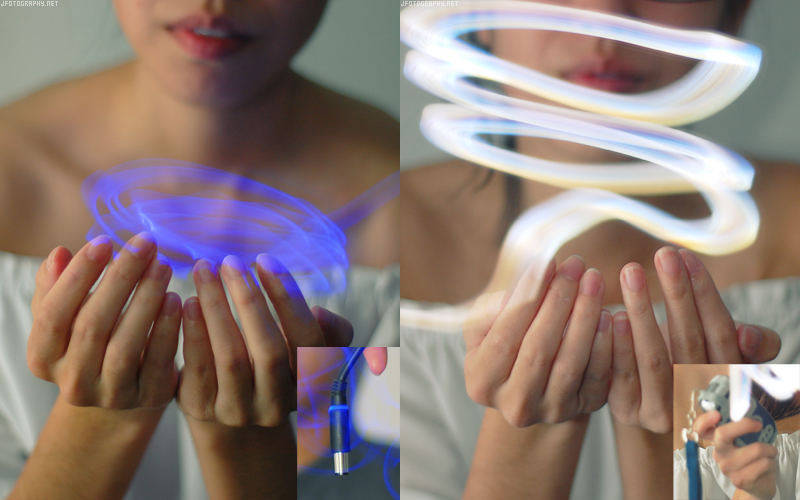
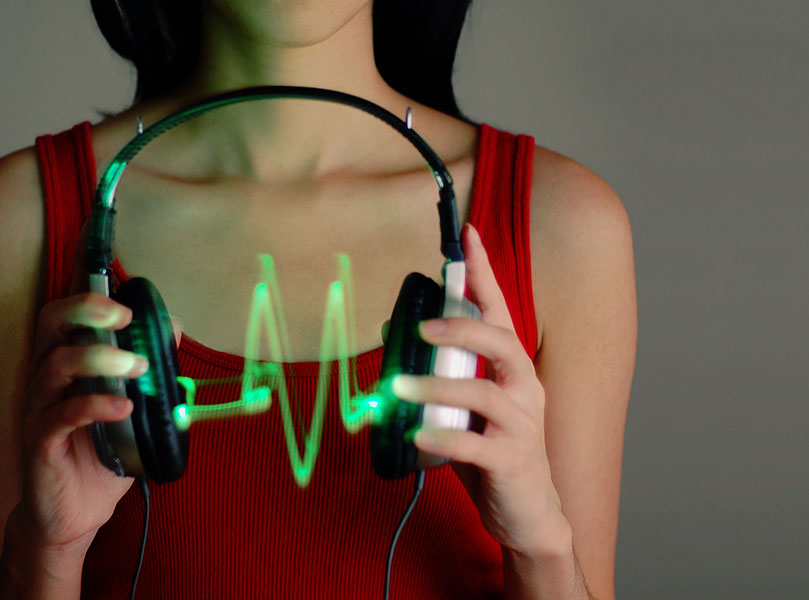
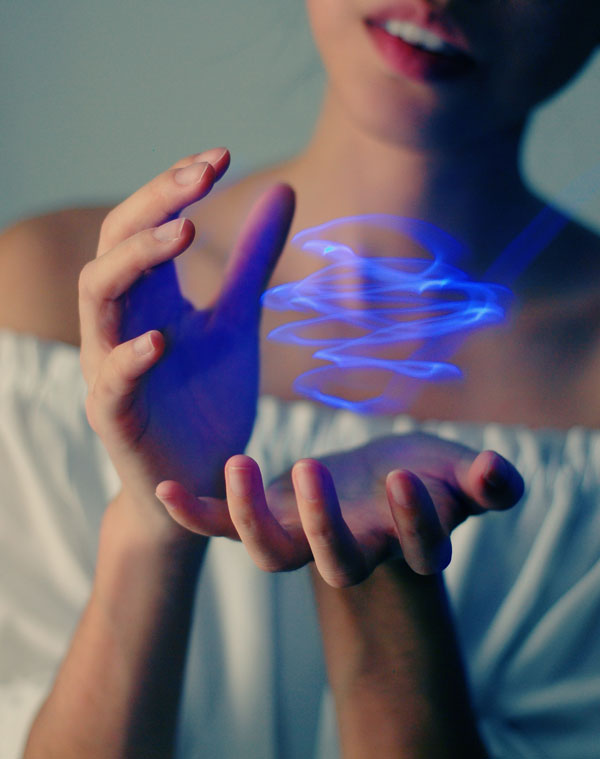
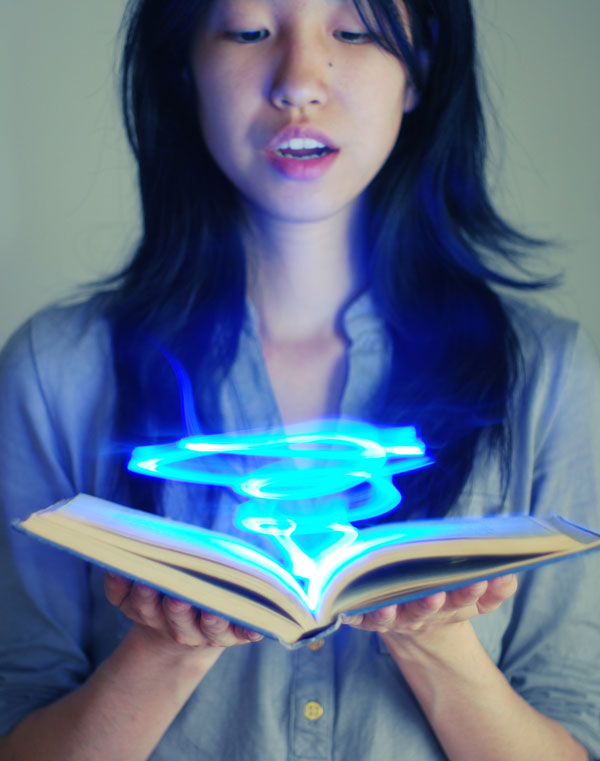
This tutorial will teach you how to take pictures such as:
You will need
- a camera with Shutter Priority or Manual Mode: Your camera should be equipped with a shutter priority and/or manual mode. Refer to your camera’s manual or a search engine for more information. You will need either of these modes to control your camera's shutter speed and exposure duration for the light painting component.
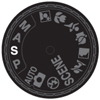
- a Built-In Flash or External Flash + Slow Sync Mode: Your camera should be equipped with a slow sync mode capable of communicating with either its built-in flash or any external flash unit. Refer to your camera’s manual, your external flash's manual, or a search engine for more information. Your will need a flash to assist with the portraiture component.

- a Tripod: Since a slow shutter speed and long exposure will be used, a tripod is necessary to help prevent any unwanted motion blur.
- a Movable Light Source: A small LED light is recommended though a flash light, laser, or cell phone will also work. You will need this movable light source for the light painting component.
Procedure
- Pose the model to the desired position.
- Set your camera to either Shutter Priority or Manual mode.
- Set a slow shutter speed. 10 to 30 seconds should be sufficient.
- Set your flash to Slow sync mode. This will allow you to trigger the flash at the beginning of the exposure to capture the model prior to the introduction of the movable light source.
- Turn off all lights such that the room or studio is completely dark. Any additional lights to the flash and movable light source will cause over-exposure.
- Take the photo and start the long exposure. Note this is when the flash should also go off.
The model will appear non-blurry in the final photo due to this initial flash.
The model should remain relatively still for the duration of the long exposure since the movable light source will be hitting the model and registering on the camera sensor; otherwise, blurriness may occur:
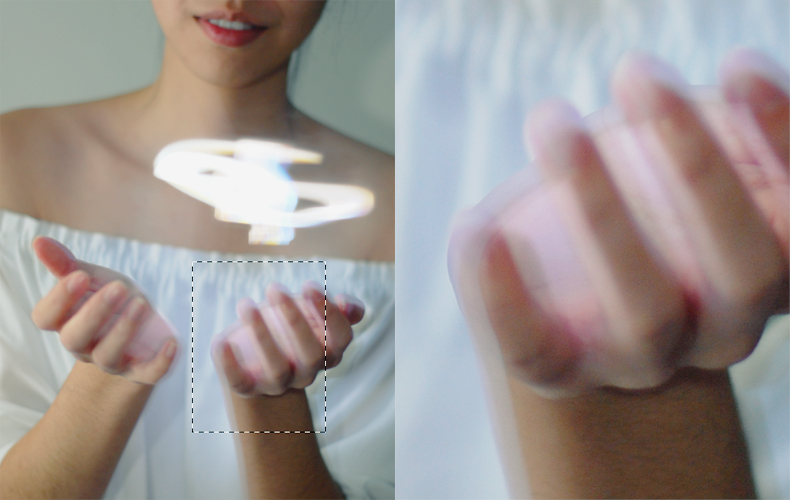
- Introduce the movable light source after the light from the flash dissipates.
- Wave the movable light source around the model for the duration of the long exposure. The path of the light will be "recorded" by the camera sensor and will appear in the configuration in which the light was waved. Achieving the proper configuration of the light path will likely be what takes the most amount of time to get right.
- Try to keep the light source moving for the entire long exposure. That way, the hand waving the light and other extraneous components on the light source such as cords will not end up in the photo.
Tips
- Remember if light does not hit an object, the object cannot register on the camera sensor and will not be visible in the photo. If you're still confused about how this technique works, think about how a camera sensor or even your eye reacts to light or a lack of light. Or consult a search engine to learn more about how camera sensors or your eyes work.
- Try using different light sources for different light intensities and effects.
- Light painting and slow sync flash by themselves are common and fun techniques worth trying out. Consult a search engine for more information, examples, and tutorials for just light painting and/or just slow sync flash.
