Forced Perspective with Bokeh
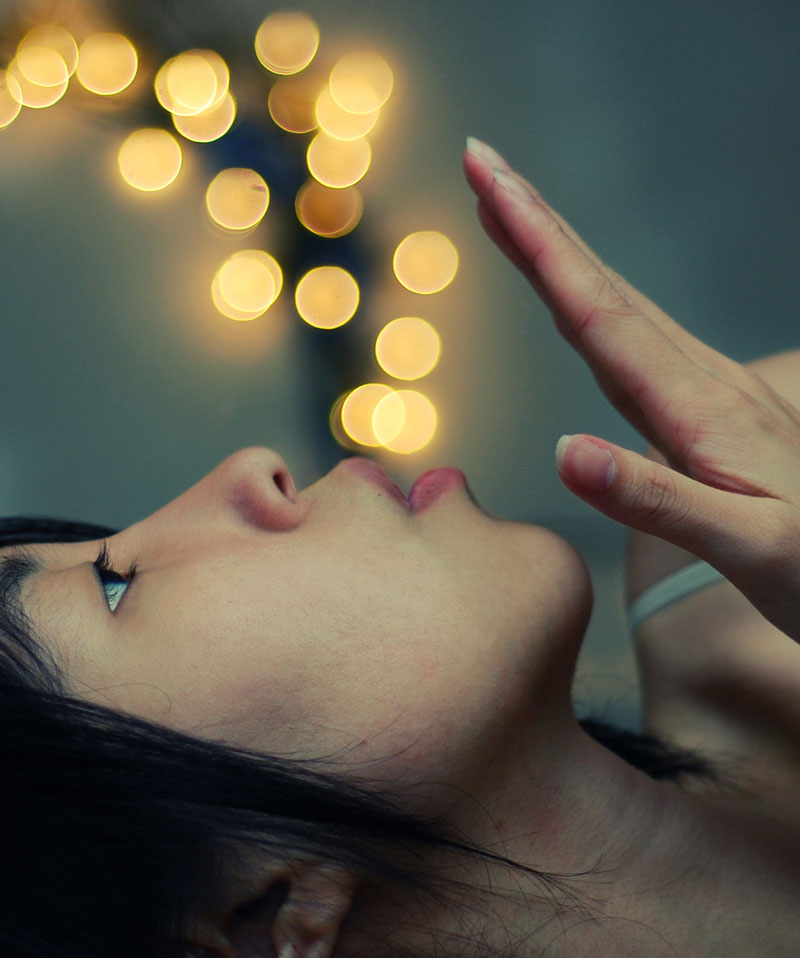
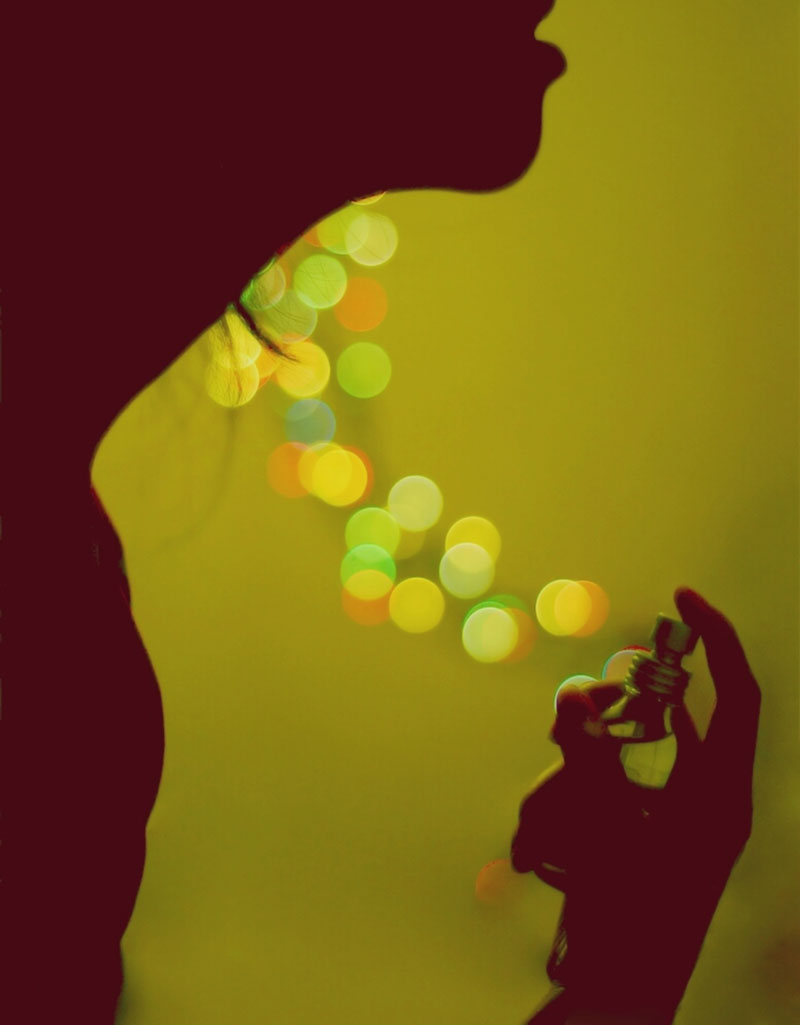
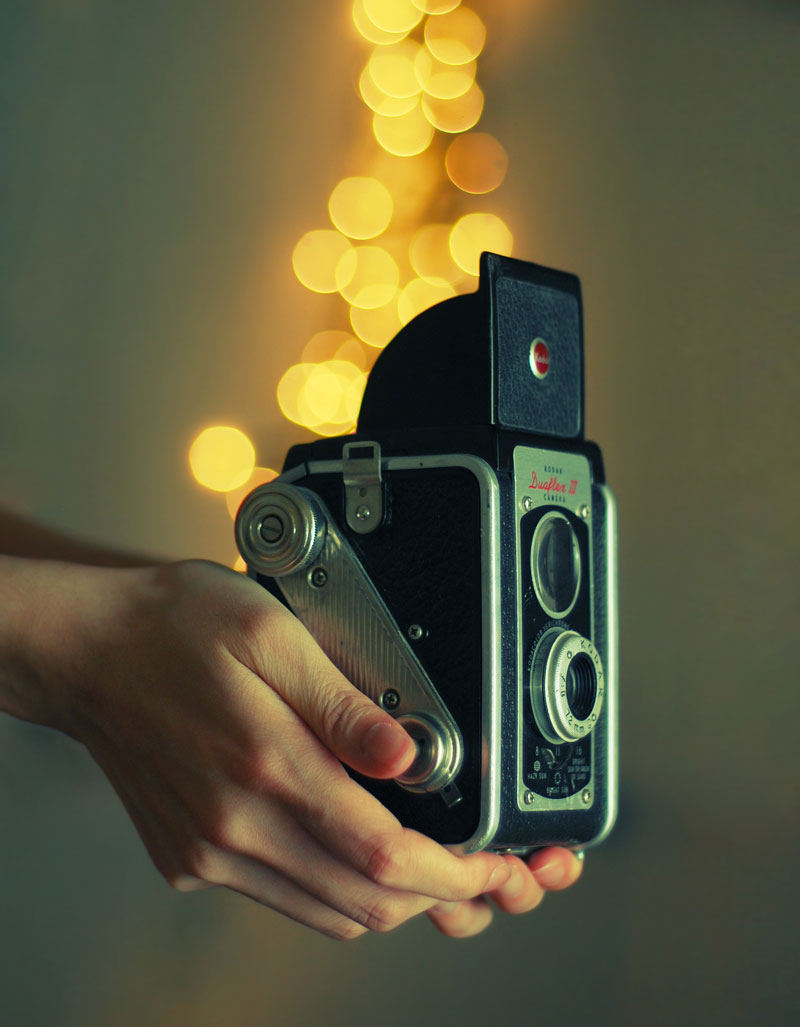
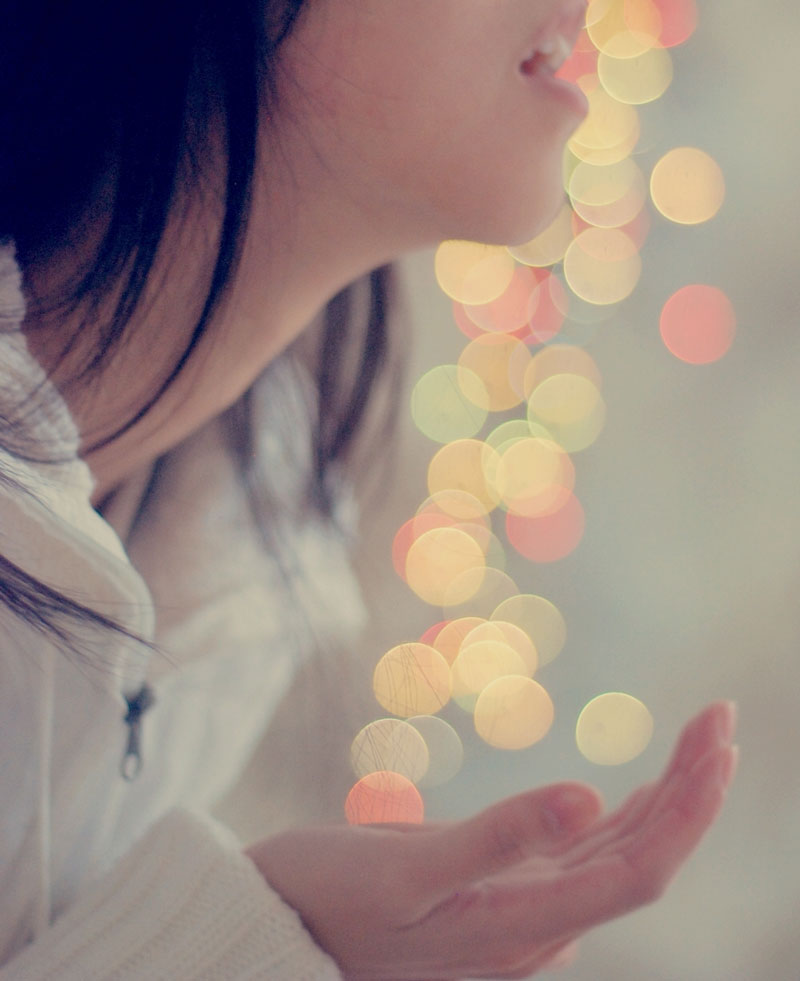
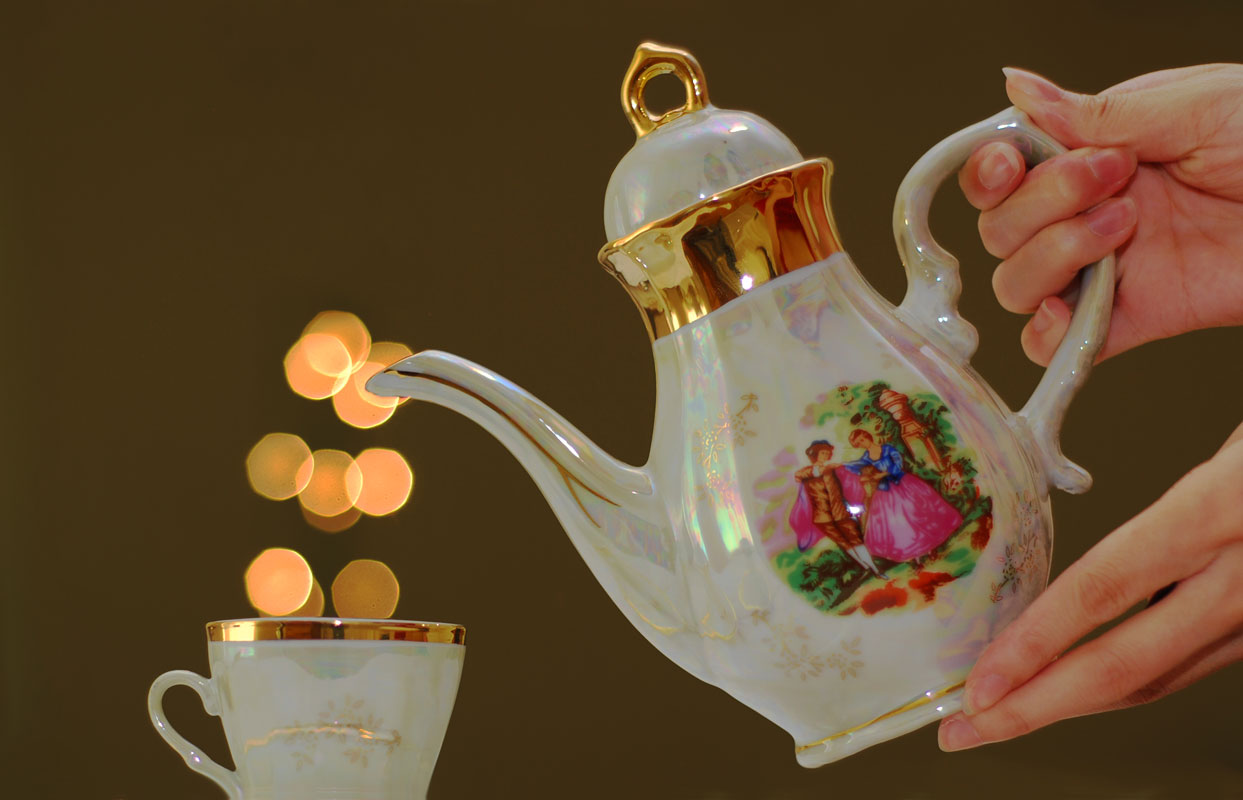
This tutorial will teach you how to take pictures such as:
You will need
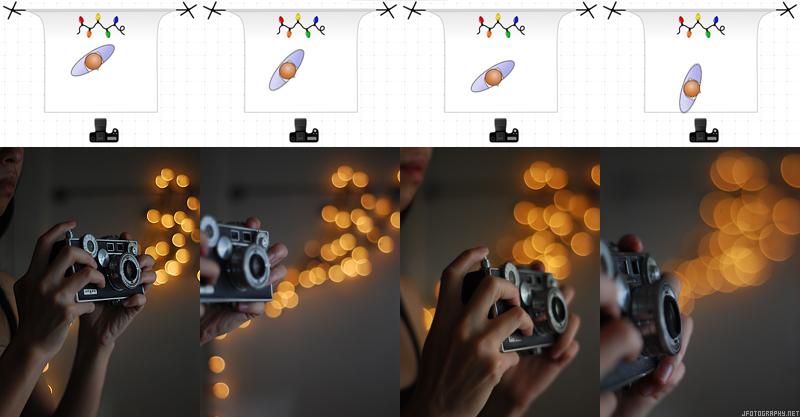
- Christmas lights (Holiday lights, Noel lights): Christmas lights will appear as bokeh "bubbles" viewed from an unfocused camera. Use ties and hooks to arrange the Christmas lights into the desired shape. The photo comparison on the right depicts Christmas lights when the camera is focused on the lights and then unfocused. For more information about bokeh, consult a search engine.
- a wide aperture lens (f/1.4 to f/2.8 recommended): A wide aperture is necessary to achieve the shallow depth of field so that the foreground (where the model is) will be sharp while the background (where the Christmas lights are) will be blurry thereby creating bokeh bubbles. For more information on how aperture relates to depth of field, consult a search engine.
- a Tripod and a placeholder (optional)
Procedure
- Setup the Christmas lights in the background.
- Position the model (or object) at least a few feet in front of the Christmas lights.
- Focus your camera on the model.
- Christmas lights should now appear as bokeh bubbles through the viewfinder. If not then, widen your aperture, increase the distance between the Christmas lights and the model and/or decrease the distance between the model and the camera. Then refocus the camera on the model.
- Compose your shot through the viewfinder to see the bokeh bubbles. The rest is just some creative composition to integrate the bokeh bubbles with the model's pose.
Tips
- If you're doing this kind of shoot alone, a placeholder can help determine where you should stand relative to the camera and Christmas lights to achieve the best bokeh.
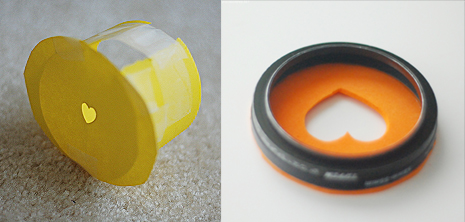
- Make your own aperture disk or purchase them online to get custom shaped bokeh. For more information on how to make your own aperture disk for custom bokeh or the optics behind why this technique works, consult a search engine.
